Pages

Sunday, April 26, 2015

The Utility Room Renovation

The utility room is actually a laundry room that leads to a half bath. A door in the laundry room also goes out to the garage. Here is a quick sketch.

So, we started with moving the dryer to the same wall as the washer. We used the same electrical cable and outlet and simply re-routed everything through the crawl space. One tough part was putting the new dryer vent outlet into the exterior wall. It was a struggle, and I recommend getting the right tool for this right off the bat. We used a 4" hole saw.

Now that I'm looking at that sketch, look at all those doors! We would've loved to make the by the washer a pocket door but it doesn't look easy. The door that separates the half bath will eventually be a pocket door that slides into the water heater closet.

After moving the dryer, we added some lights and decided on a rustic industrial theme.


Once we could see what we're doing, we saw that we needed some space to work. We figured painting and flooring could be done in a weekend...yeah, that didn't happen.
Tearin it up.


We then cleaned it up, poured our self-leveling cement and painted on our water seal protector.


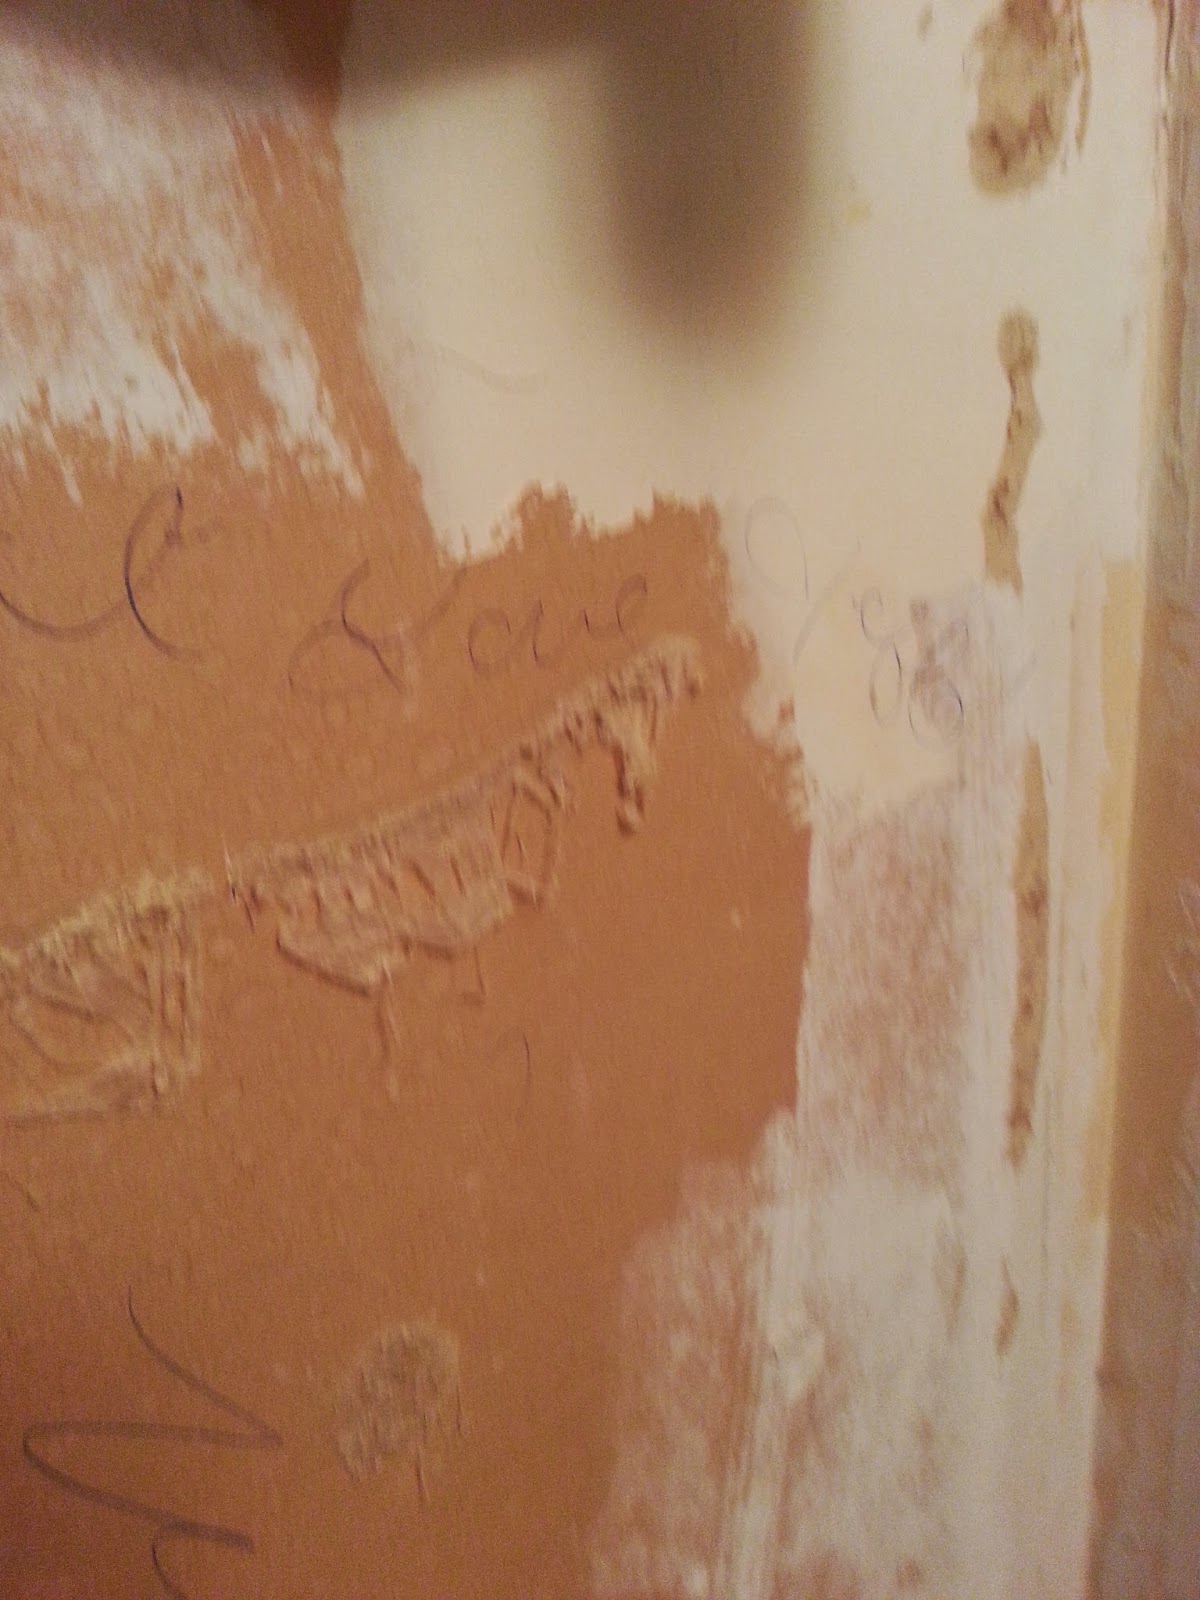
A love note since she knew I'd be working on the floor. I'm a lucky guy.
Finally ready to put the floor in, then the wainscoting and finally the pantry shelving.


I think it took us about 6 weeks all said and done. It looks awesome. Now we'll feel a little more prepared when we tile the upstairs bathroom. 

Please Comment and Subscribe!

Our first project - Wainscoting the kitchen in a weekend.

We had decided that the day we close on the  house we would celebrate - with a home improvement project. The kitchen had an ugly blue wallpaper that was peeling off. This wallpaper was all around both the kitchen and dining room from the floor to about 4 feet up. It was hideous!

So we closed in the morning (yay!) and went straight to Lowes (although we prefer Home Depot) and spent about 4 hours going up and down every aisle (we were excited ok?). In addition to everything we needed for the wainscoting project we got some odds and ends as well.


Here's a rundown of what we did.

Step 1: Prep
We removed the chair rail and baseboards around the kitchen/dining room and had to disconnect the electric baseboard heaters (which will hopefully eventually be removed in the future). We didn't bother removing the wallpaper - the wainscoting was put right on top. We also removed all outlet covers and tore off the cheap particle cardboard that was on the cabinets facing the dining room.

Step 2: Measure and cut
We really got this part done quite quickly and nearly finished that same day we closed! We used a circular saw we borrowed from Boulder's tool library - which is cheap but not as cheap as asking our neighbor as it turns out. They were cut to size, and liquid nails were used in addition to finishing nails. At times we struggles with the finishing nails and wish we had a nail gun or smaller finishing nails - ours were at least 1.5 inches and 1 inch would've been sufficient. In order to cut the holes for the electric baseboard heaters and outlets we used a little cutting tool borrowed from the neighbor that worked perfectly.

Step 3: Replace/add baseboards and chair rails
When we removed the baseboards and chair rails we marked them on the back so we would know exactly where they go. We also had to match up our baseboard/chair rail to some new ones because some spots were missing. .This went without a hitch and Jocelyn even found a nice way to make corners look good with a small piece of dowel.

Step 4: Paint
This was likely the most frustrating step - mostly because we used latex paint and generally wished we hadn't. It still looks good in the end but next time we'll use a different kind of paint.

Not only did this project make the kitchen look nicer but with the white wainscoting everything was brightened up! We didn't even realize how dark our kitchen/dining room was until we completed this project and saw how nice and bright it can be!

While in the middle of this project we also put in a dimmer switch for the light/fan over the dining room table -ya know, to set the mood. This was also the time I put a hole in the wall, patched it up and re-opened the hole due to killing the internet - you can read about that here.

Please comment below and subscribe!

Oops - killing the internet by trying to remove the landline.

Ok, so maybe I was a bit excited to clean this place up and remove unnecessary things attached to walls. I like open walls and when there's a bunch of unused hardware it bothers me.

That was the case with the land line phone jack in the kitchen area. It was a a little square plastic that had yellowed with time and nobody has used a land line in this house in ages. I figured, why not remove it and patch up any hole the wires came through?

If you're in IT or work at an internet company you're probably laughing at me right now.

I unscrewed the thing, took an knife to the wires in the back (I know!) and shoved the wires in the wall, trashed the ugly yellowed plastic plate and threw a drywall patch over the hole. I did not know the internet was down until after it dried, sanded it and dried again.

At first we didn't even think it was my fault. The internet was down - so what? It's likely an outage in the area or the router needs reset. Well, after about 1 hour with customer service they say it's not on their end and they'll send someone out in 4 days! In addition, he repeats several times that if the technician needs to come into the house and has to fix something it will be an $80 charge! This is after I tell him that I cut out the land line and he said it shouldn't affect the internet - that guy was wrong.

So, after talking with my very smart roommate we decide to open the hole in the wall, despite my beautiful patch job, and fetch the plastic plate out of the garbage. We browse some blogs about IT and DSL connections and attempt to twist wires together. I'm starting to feel like it's hopeless when voila! Andy the roommate happened to get the right wires together and the internet is back! SWEET!

I still didn't want that ugly jack on the wall so we opened the hole big enough to fit the whole thing in the wall and patched right over it. If there's ever a problem in the future we'll have to pay to get a dedicated DSL line - which seems like an unneeded additional cost at this point.

Internet is really the only "unnecessary" bill we have at this house. There's no cable package or any of that jazz. In fact, once I get a ladder I'm removing the ugly satellite on the south side of the house! It's right in the way of my future solar collector!

Thursday, April 23, 2015

1st quarter review, 2015

Ok, it's near the end of April and the first part of the year was quite busy. We closed on the house in January and have since done wainscoting in the dining/kitchen, completely remodeled the utility room complete with re-routing the dryer and laying down tile floor, faux wood style and added a pantry, garage refrigerator turned into a kegerator and lots of lighting in a few rooms. Not to mention quite a few odds and ends throughout the house.


Jocelyn's mom came for a pleasant visit which also welcomed a break from endless house projects. When looking at our financial picture, it turns out we've let our credit card go a bit. It should take about 4-6 months to get that back down to a 0 balance. This was largely due to me needing a vehicle. I got a used 2002 Honda for less than 4k and I'm hoping to only drive it when absolutely needed - which hasn't been going well.

So, we're up for a break on expensive projects and are targeting that credit card balance. During the summer we have a few trips back home plus a Redwoods camping trip - and preliminary expense research looks very good at around $400 per person for a 10-day trip.

May the warmer weather bring abundance in health and wealth, and to you and yours.